前回のあらすじ
前回 は Amplify + React/Redux で簡単なアプリを制作しました。
ただ、Python で Lambda を書いている場合に、Amplify Console でデフォルトで用意されるビルドイメージとの互換性 (Python 3.8.x / pipenv が無い) という問題により、amplify.yml を編集してビルドしてました。
これだと毎回 Python と pipenv のインストールが走ってビルドに時間がかかるので、今回はこれらがインストールされたビルドイメージを作成します。
ビルドイメージの作成
Amazon Linux のコンテナイメージは以下のように公開されています。
$ docker search amazonlinux | head -2
NAME                                   DESCRIPTION                                     STARS               OFFICIAL            AUTOMATED
amazonlinux                            Amazon Linux provides a stable, secure, and …   900                 [OK]
これを pull して Python と pipenv インストールすれば良いので、以下のような Dockerfile を用意します。
Dockerfile
FROM amazonlinux:latest

RUN export BASE_PATH=$(pwd)

# Install required packages
RUN yum install -y openssh git make gzip tar wget gcc openssl-devel bzip2-devel libffi-devel python3.8-pip

# Install Python 3.8.2 and pipenv
RUN cd /opt && wget https://www.python.org/ftp/python/3.8.2/Python-3.8.2.tgz
RUN cd /opt && tar xzf Python-3.8.2.tgz
RUN cd /opt/Python-3.8.2 && ./configure --enable-optimizations
RUN cd /opt/Python-3.8.2 && make altinstall
RUN pip3.8 install pipenv
RUN ln -fs /usr/local/bin/python3.8 /usr/bin/python3
RUN ln -fs /usr/local/bin/pip3.8 /usr/bin/pip3

# Install node and npm
RUN curl -sL https://rpm.nodesource.com/setup_14.x | bash
RUN yum install --enablerepo=nodesource nodejs -y

RUN cd $BASE_PATH
で、ビルドしましょう。
$ docker build -t upincore/al2amplifypython ./

...

Successfully built 9f4caa0a8d81
Successfully tagged upincore/al2amplifypython:latest

$ docker image ls upincore/al2amplifypython
REPOSITORY                  TAG                 IMAGE ID            CREATED             SIZE
upincore/al2amplifypython   latest              9f4caa0a8d81        3 minutes ago       1.5GB
イメージが作成されてますね。
あとは push しましょう。
$ docker login
Login with your Docker ID to push and pull images from Docker Hub. If you don't have a Docker ID, head over to https://hub.docker.com to create one.
Username: upincore
Password:
WARNING! Your password will be stored unencrypted in /home/ec2-user/.docker/config.json.
Configure a credential helper to remove this warning. See
https://docs.docker.com/engine/reference/commandline/login/#credentials-store

Login Succeeded

$ docker push upincore/al2amplifypython
The push refers to repository [docker.io/upincore/al2amplifypython]
cef2ef5b7911: Pushed
010fac06398f: Pushed
9a4cd49c2604: Pushed
a1030244041b: Pushed
45d70711cd49: Pushed
50a821f2b209: Pushed
4c9435abdfbe: Pushed
6957226c7a63: Pushed
a92b95448246: Pushed
3c98639de2ec: Pushed
50c3cd231426: Layer already exists
latest: digest: sha256:31717a36b5afbcaf69ca207b1004337071d9d6ea2bdd68a95aedd2855828704e size: 2638
Amplify Console でビルドイメージを指定する
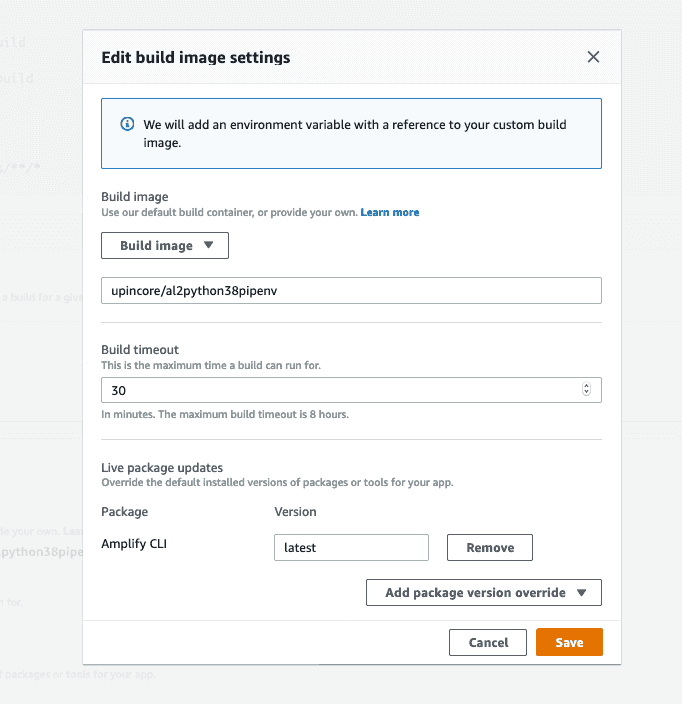
イメージの push が完了したら、あとはそのイメージを Amplify Console 側でビルドイメージとして指定します。ついでに amplify.yml で backend の preBuild phase を削除します。
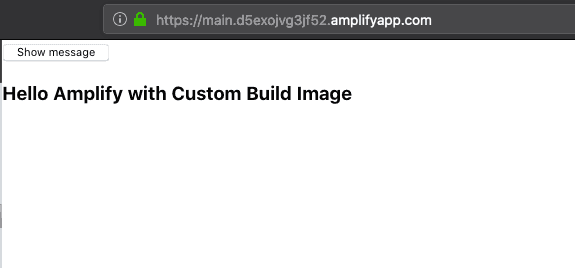
折角なのでバックエンド API から返却される文字列を多少変更してみました。あとは GitHub にプッシュするだけです。
$ git add .
$ git commit -m "Changed the message"
[main 26a2a42] Changed the message
 1 file changed, 1 insertion(+), 1 deletion(-)
$ git push 
